-
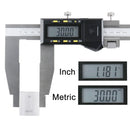
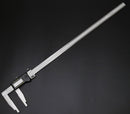
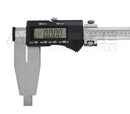
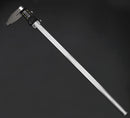
Heavy Duty Digital Calipers with Fine Adjustment
- IN/MM conversion
- Data Hold Function
- IP54 coolant resistant, dust resistant
- SPC data output
- SPC - C + C -01
- SPC - D + C -01
- High reliability
- Provided with a fine-adjustment carriage
- Round measuring faces
- Rs-232 output.
- SET function
- Incremental capacitive measurement system.
- Glass scale.
- 3V lithium battery CR2032, battery life> 1 year.
- Fine-adjustment carriage.
- Fitted plastic case.
- Power supply: 3V CR2032.
Item
Range Resolution Accuracy Nib L1 L2 L3 L4 W1
e T1 f AB11-1660 0-24"/0-600mm 0.0005''/0.01mm +/- 0.002"/0.05mm 0.3945" 770mm/30.315" - 3.937" 20mm/0.8" 0.393" 20mm/0.8" 0.944" AB11-3660 0-24"/0-600mm 0.0005"/0.01mm +/-0.002"/0.05mm - 770mm/30.315" - 100mm/3.937" - 20mm/0.8" 0.393" 20mm/0.8" 0.944" AB11-1610 0-40"/0-1000mm 0.0005"/0.01mm +/-0.003"/0.05mm - 1210mm/47.638" 60mm/2.362" 125mm/ 4.921" 63mm/2.480" 1.220" 0.393" 20mm/0.8" 0.944" 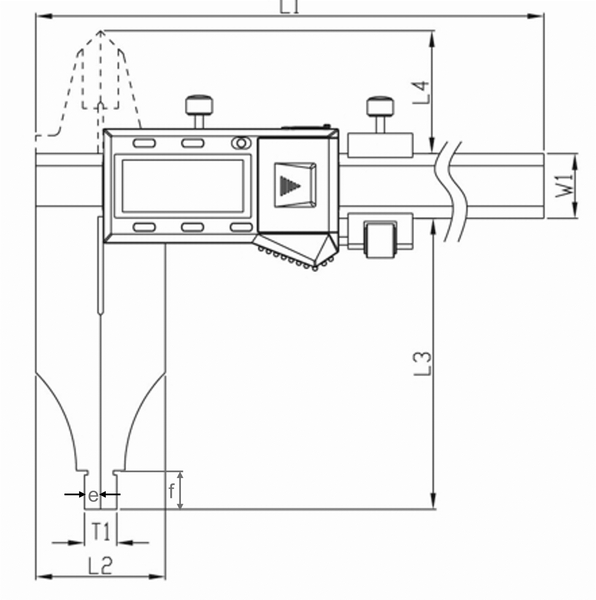
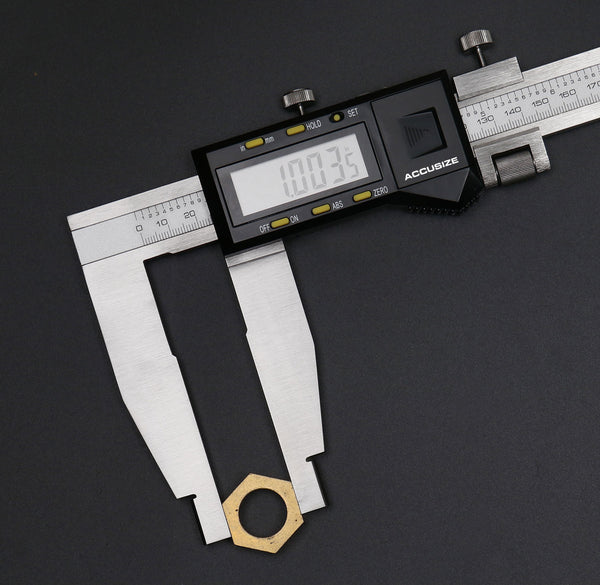
Outside Measuring
Inside Measuring
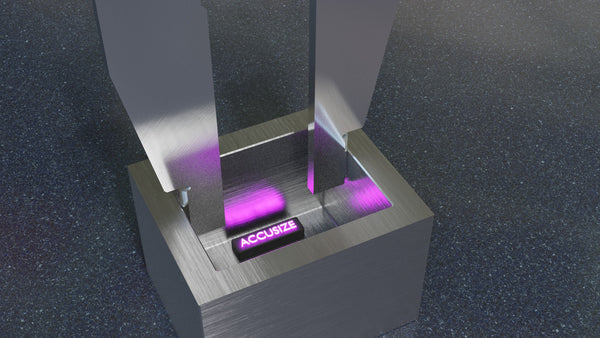
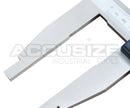
Those calipers can be used to measure inside dimensions. However, it is important to note that the user needs to perform compensation for the indicated value. The width of the two small measuring faces is provided as T1 in the table above.
- First, measure the width of the two small measuring faces of the lower jaw. E.g. this value should be 20mm for model #AB11-1660. The value is also provided in the table.
- Next, place the caliper inside the object you want to measure and expand the jaws until they touch the inner walls.
- Read the measurement on the caliper’s scale or display.
- Add the compensation value (20mm) to your measurement. This will give you the final inside dimension.
For example, if you measure an inside dimension of 50mm with the caliper, you would add 20mm for a final measurement of 70mm.
-
Product NameMaterial Number


